gutenberg
Introduction to Bannock (Indigenous Fry Bread)
Hey there, fellow food lovers! If you’re looking for a delightful treat that’s both easy to whip up and absolutely delicious, let me introduce you to Bannock (Indigenous Fry Bread). This traditional fry bread is not just a recipe; it’s a warm hug for your taste buds! Perfect for those busy days when you want to impress your family without spending hours in the kitchen, Bannock is versatile and can be enjoyed sweet or savory. Trust me, once you try it, you’ll be adding it to your regular rotation!
Why You’ll Love This Bannock (Indigenous Fry Bread)
Let’s be real—life can get hectic, and finding time to cook can feel like a juggling act. That’s why you’ll adore this Bannock (Indigenous Fry Bread). It’s quick to make, taking just about 30 minutes from start to finish! Plus, the taste? Oh, it’s a delightful blend of crispy on the outside and soft on the inside. Whether you’re serving it as a snack or a side, it’s sure to bring smiles to your table!
Ingredients for Bannock (Indigenous Fry Bread)
Let’s gather our ingredients for this delightful Bannock (Indigenous Fry Bread). Don’t worry; it’s a simple list, and you might already have most of these in your pantry!
- All-purpose flour: This is the base of our fry bread, giving it that lovely texture. You can also use whole wheat flour for a nuttier flavor.
- Baking powder: This little magic powder helps our Bannock rise, making it fluffy and light. Make sure it’s fresh for the best results!
- Salt: Just a pinch enhances the flavors. It’s like a secret handshake for your taste buds!
- Sugar (optional): If you’re leaning towards a sweeter version, a touch of sugar can do wonders. It’s perfect if you plan to serve it with honey or jam.
- Vegetable oil or melted butter: This adds richness to the dough. You can use olive oil for a healthier twist or even coconut oil for a hint of tropical flavor.
- Water: The magic liquid that brings everything together. Adjust the amount based on how dry or humid your kitchen is.
- Oil for frying: You’ll need enough to submerge the Bannock discs. Canola or peanut oil works well, but feel free to use what you have on hand.
For those who love to experiment, I encourage you to check out the exact measurements at the bottom of the article. They’re available for printing, making it super easy to keep your kitchen organized!
How to Make Bannock (Indigenous Fry Bread)
Now that we have our ingredients ready, let’s dive into the fun part—making our Bannock (Indigenous Fry Bread)! I promise, it’s easier than you might think. Just follow these simple steps, and you’ll be enjoying warm, fluffy fry bread in no time!
Step 1: Combine Dry Ingredients
Start by grabbing a large mixing bowl. In it, whisk together the all-purpose flour, baking powder, salt, and sugar (if you’re using it). This is where the magic begins! Make sure everything is well combined. It’s like giving your dry ingredients a little dance party before the wet ones join in!
Step 2: Add Wet Ingredients
Next, it’s time to add the wet ingredients. Pour in the vegetable oil or melted butter, and mix it in until the mixture resembles coarse crumbs. Think of it as creating a sandy beach—small, crumbly bits that will soon come together. Then, slowly add the water, mixing as you go. You want a soft dough, so adjust the water as needed. If it feels too sticky, sprinkle in a bit more flour!
Step 3: Form the Dough
Once your dough is coming together, transfer it to a lightly floured surface. Now, it’s time to knead! Gently knead the dough for about a minute until it’s smooth. Don’t overdo it; we’re not making a workout here! Just enough to bring it all together. It should feel soft and pliable, like a cozy pillow.
Step 4: Rest the Dough
Let’s give our dough a little break. Cover it with a clean kitchen towel and let it rest for 10-15 minutes. This step is crucial as it allows the gluten to relax, making your Bannock even fluffier. Use this time to clean up your workspace or maybe sip on a cup of tea. You deserve it!
Step 5: Shape the Bannock
After the dough has rested, it’s time to shape it. Cut the dough into six equal portions. Flatten each piece into a disc about half an inch thick. You can use your hands or a rolling pin—whatever feels right! Just remember, they don’t have to be perfect circles. A little rustic charm adds character!
Step 6: Fry the Bannock
Heat oil in a large skillet over medium heat. You want it hot enough that a small piece of dough sizzles when you drop it in. Carefully place the dough discs into the skillet, frying them in batches if necessary. Cook each side for about 2-3 minutes, or until they’re golden brown and fully cooked. The aroma will be heavenly, trust me!
Step 7: Serve and Enjoy
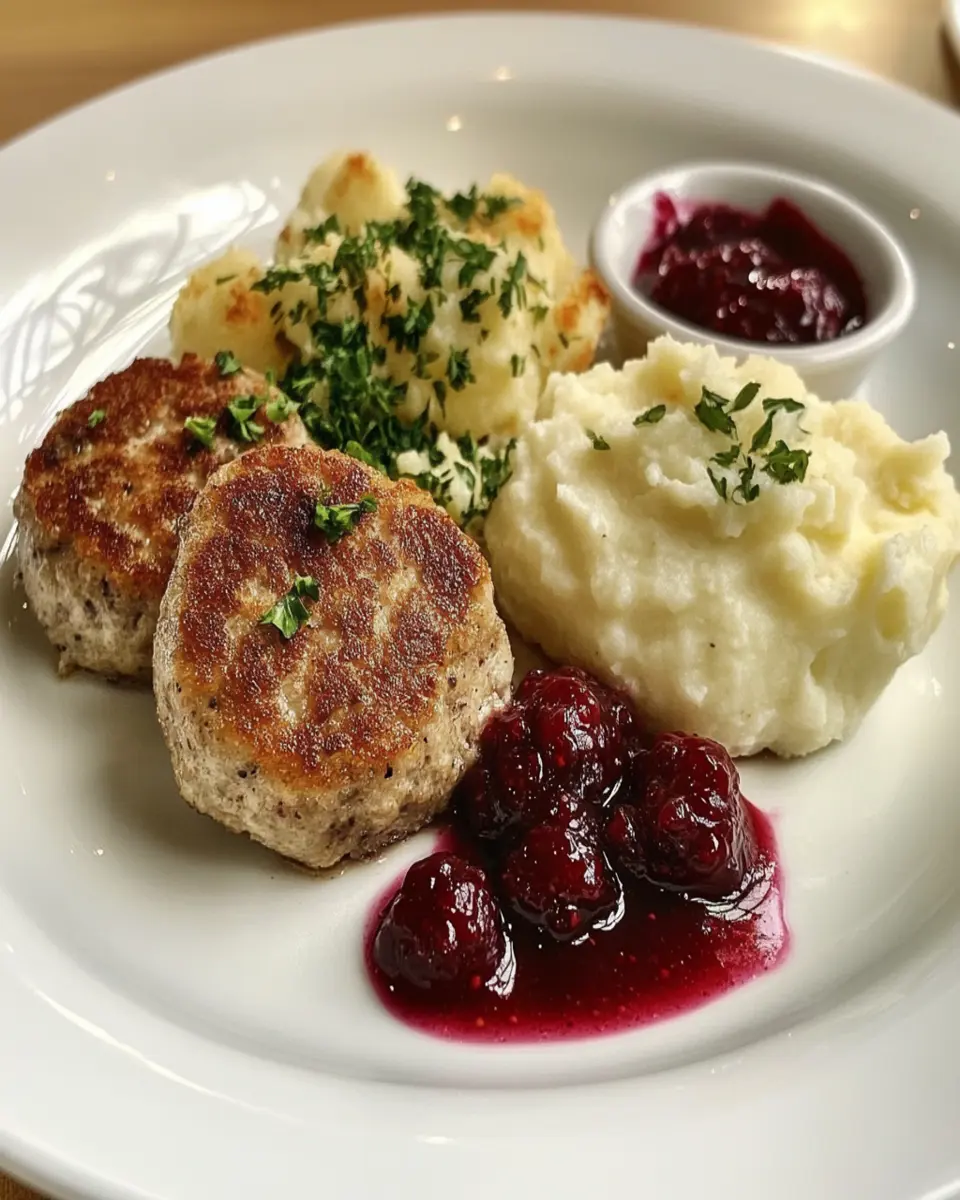
Once your Bannock is golden and crispy, remove it from the skillet and let it drain on paper towels. Now comes the best part—serving! Enjoy your warm Bannock topped with honey, jam, or even savory options like chili or beans. The possibilities are endless! Gather your loved ones, and dig in. You’ve just created a delicious piece of history!

Tips for Success
- Make sure your baking powder is fresh for the best rise.
- Don’t skip the resting time; it’s key for fluffy Bannock!
- Adjust the water based on your dough’s texture—every kitchen is different!
- Fry in batches to avoid overcrowding the skillet; this ensures even cooking.
- Experiment with flavors by adding herbs or spices to the dough!
Equipment Needed
- Large mixing bowl: Any bowl will do, but a sturdy one is best for mixing.
- Whisk: A fork works in a pinch if you don’t have one!
- Skillet: A non-stick skillet is ideal, but cast iron adds great flavor.
- Spatula: Use a slotted spatula for easy flipping and draining.
- Measuring cups: Essential for accuracy, but eyeballing can work too!
Variations of Bannock (Indigenous Fry Bread)
- Sweet Bannock: Add 1/2 teaspoon of cinnamon and a tablespoon of sugar to the dry ingredients for a delightful sweet treat. Serve with maple syrup or fresh fruit!
- Herb-Infused Bannock: Mix in chopped fresh herbs like rosemary or thyme into the dough for a savory twist. This pairs beautifully with soups or stews.
- Cheesy Bannock: Fold in shredded cheese, like cheddar or mozzarella, into the dough before frying. The melted cheese adds a delicious richness!
- Gluten-Free Bannock: Substitute all-purpose flour with a gluten-free flour blend. Just make sure to check the baking powder for gluten-free certification.
- Spicy Bannock: Add a pinch of cayenne pepper or chopped jalapeños to the dough for a kick of heat. Perfect for those who love a little spice in their life!
Serving Suggestions for Bannock (Indigenous Fry Bread)
- Pair your warm Bannock with a drizzle of honey or a dollop of jam for a sweet treat.
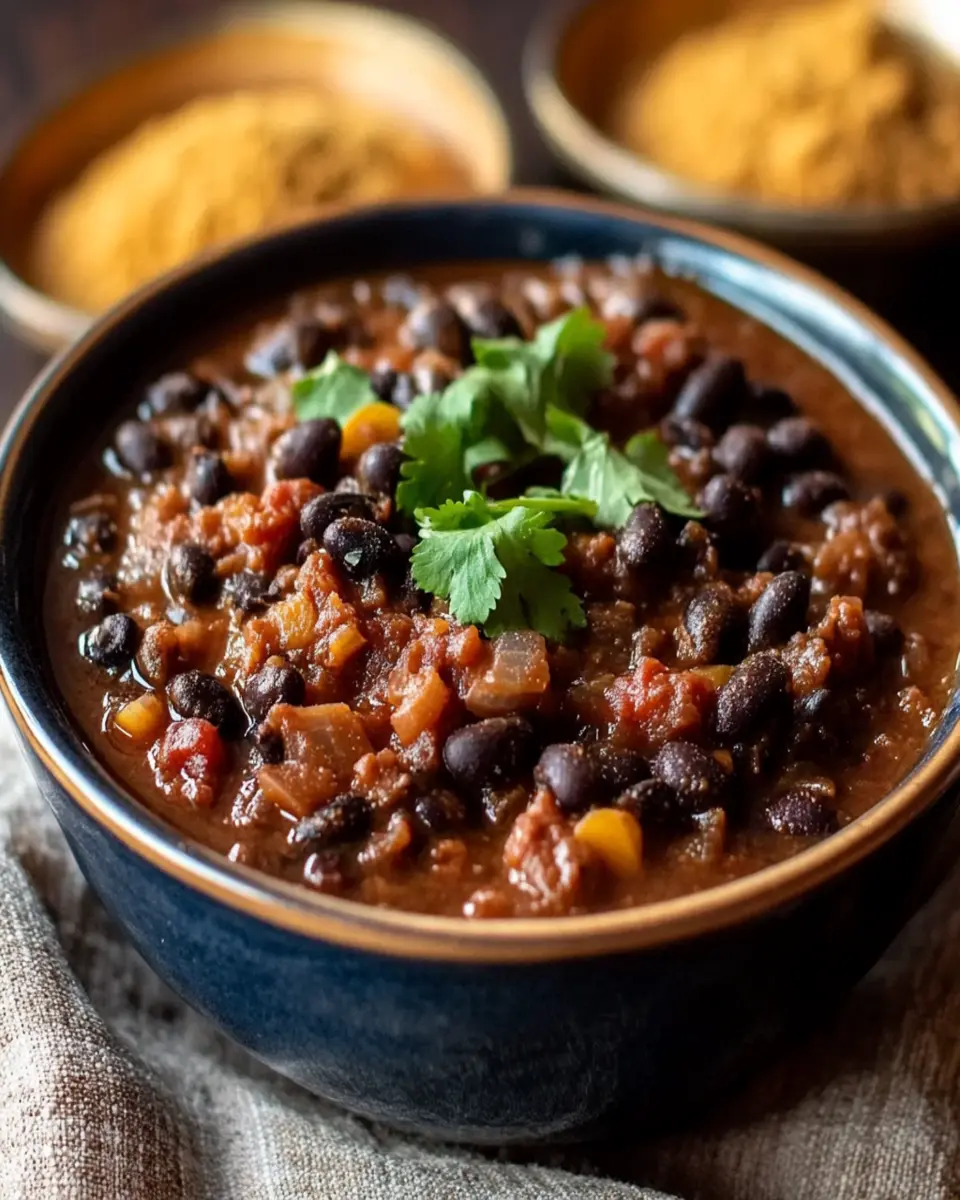
- Serve alongside a hearty chili or bean dish for a satisfying meal.
- Enjoy with a refreshing herbal tea or a glass of cold milk.
- For a fun presentation, stack the Bannock on a rustic wooden board.
FAQs about Bannock (Indigenous Fry Bread)
As you embark on your Bannock (Indigenous Fry Bread) journey, you might have a few questions. Don’t worry; I’ve got you covered! Here are some common queries that pop up when making this delightful treat.
1. Can I make Bannock (Indigenous Fry Bread) ahead of time?
Absolutely! You can prepare the dough ahead of time and store it in the fridge for up to 24 hours. Just remember to let it come to room temperature before frying. If you have leftovers, they can be stored in an airtight container for a couple of days. Just reheat them in a skillet for that fresh-out-of-the-pan taste!
2. What can I serve with Bannock (Indigenous Fry Bread)?
The options are endless! You can enjoy your Bannock with sweet toppings like honey, jam, or maple syrup. For a savory twist, pair it with chili, beans, or even a hearty soup. It’s a versatile dish that complements many meals!
3. Is Bannock (Indigenous Fry Bread) suitable for special diets?
Yes! You can easily adapt this recipe to fit various dietary needs. For a gluten-free version, simply swap out the all-purpose flour for a gluten-free blend. If you’re looking for a healthier option, consider using whole wheat flour or adding in some oats for extra fiber.
4. Why is my Bannock (Indigenous Fry Bread) not rising?
If your Bannock isn’t rising as expected, it could be due to stale baking powder. Always check the expiration date on your baking powder before using it. Also, make sure you’re not overworking the dough during kneading, as this can lead to a denser texture.
5. Can I bake Bannock instead of frying it?
While frying gives Bannock its signature crispy texture, you can bake it if you prefer a healthier option. Preheat your oven to 400°F (200°C), place the shaped dough on a baking sheet, and bake for about 15-20 minutes or until golden brown. Just keep in mind that the texture will be different from the traditional fried version!
Final Thoughts
Making Bannock (Indigenous Fry Bread) is more than just cooking; it’s about creating memories and sharing joy with those you love. This simple yet delightful recipe brings a taste of tradition right into your kitchen, allowing you to connect with your roots or simply enjoy a delicious treat. Whether you’re savoring it with sweet toppings or pairing it with savory dishes, each bite is a reminder of the warmth and comfort that food can bring. So, roll up your sleeves, gather your loved ones, and let the magic of Bannock fill your home with happiness!
“`
Print
Bannock (Indigenous Fry Bread) made easy for you!
- Total Time: 30 minutes
- Yield: 6 servings 1x
- Diet: Vegetarian
Description
Bannock is a traditional Indigenous fry bread that is easy to make and delicious to enjoy.
Ingredients
- 2 cups all-purpose flour
- 1 tablespoon baking powder
- 1 teaspoon salt
- 1 tablespoon sugar (optional)
- 2 tablespoons vegetable oil or melted butter
- 3/4 cup water (adjust as needed)
- Oil for frying
Instructions
- Whisk together the flour, baking powder, salt, and sugar (if desired) in a large bowl until well combined.
- Incorporate the vegetable oil or melted butter into the mixture, stirring until it resembles coarse crumbs.
- Slowly pour in the water, mixing until a soft dough begins to form; adjust the water amount as needed.
- Transfer the dough to a lightly floured surface and knead gently for about a minute until smooth.
- Allow the dough to rest for 10-15 minutes to relax the gluten.
- Cut the dough into six equal portions and flatten each piece into a disc about half an inch thick.
- Heat oil in a large skillet over medium heat until hot enough for frying.
- Carefully place the dough discs into the skillet, frying them in batches if necessary.
- Cook each side for approximately 2-3 minutes, or until golden brown and fully cooked.
- Remove from the skillet and let drain on paper towels.
- Serve warm, topped with honey, jam, or savory options like chili or beans.
Notes
- For a sweeter twist, add 1/2 teaspoon of cinnamon to the dry ingredients and pair with maple syrup.
- For a savory option, fold in chopped herbs or spices such as garlic or onion powder into the dough before frying.
- Prep Time: 15 minutes
- Cook Time: 15 minutes
- Category: Snack
- Method: Frying
- Cuisine: Indigenous
Nutrition
- Serving Size: 1 piece
- Calories: 180
- Sugar: 0g
- Sodium: 200mg
- Fat: 7g
- Saturated Fat: 1g
- Unsaturated Fat: 6g
- Trans Fat: 0g
- Carbohydrates: 30g
- Fiber: 1g
- Protein: 3g
- Cholesterol: 0mg

Leave a Comment