Introduction to Salmon Belly Torched Nigiri-Style
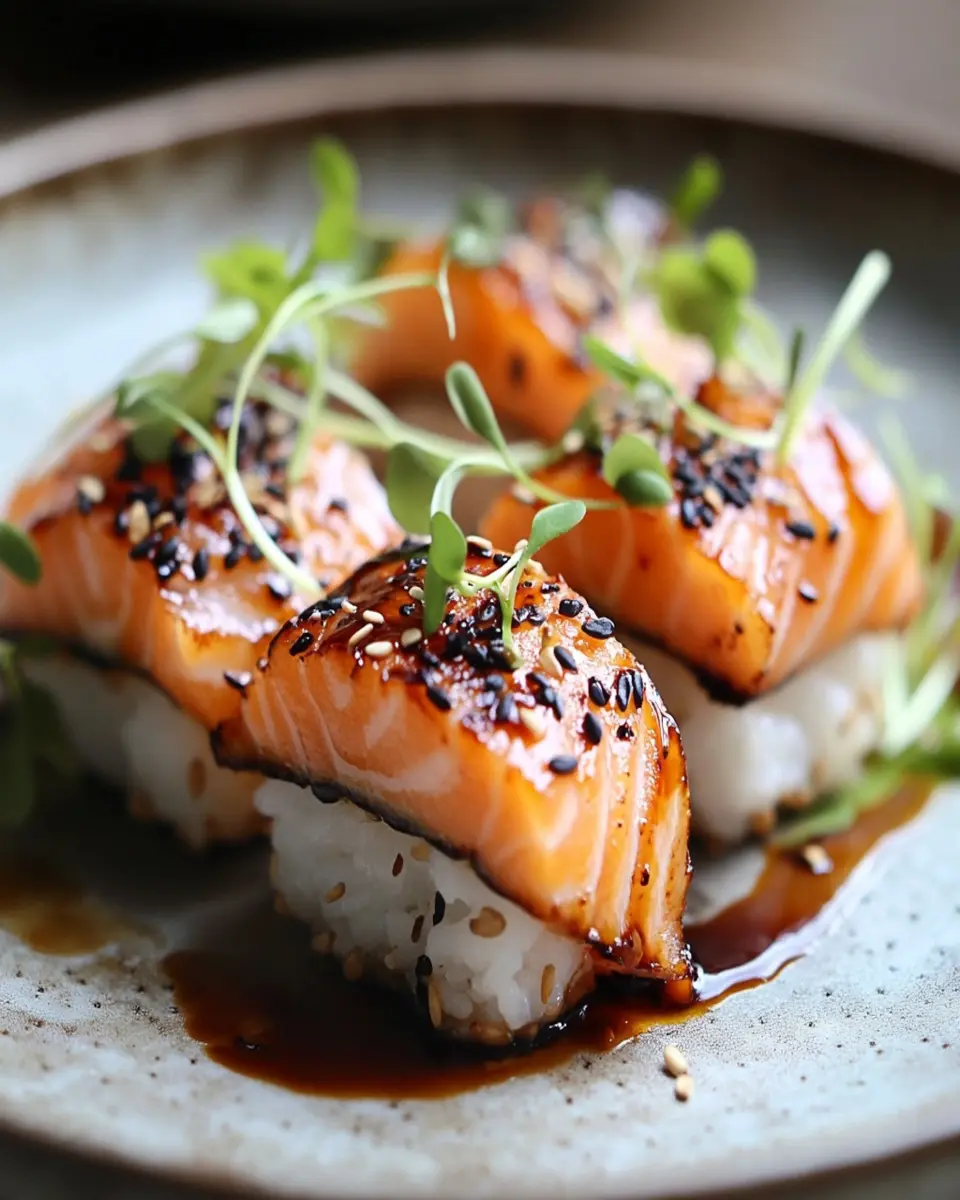
Salmon Belly Torched Nigiri-Style is an exquisite dish that combines the rich, buttery flavor of salmon belly with the delicate texture of sushi rice. This delightful fusion not only showcases the artistry of Japanese cuisine but also offers a unique dining experience that can be easily recreated at home. Perfect for young professionals who love homemade meals but are short on time, this recipe brings a taste of authenticity to your table.
The Allure of Salmon Belly
Salmon belly is prized for its high fat content, which contributes to its melt-in-your-mouth quality. When torched, it develops a smoky aroma and a slightly crispy texture, elevating the entire dish. This ingredient not only enhances the flavor profile but also adds a visual appeal that makes your nigiri a feast for the eyes.
Sushi Rice: The Foundation
The sushi rice is essential in balancing the richness of the salmon. It’s seasoned with a mixture of rice vinegar, sugar, and salt, which complements the flavors without overpowering them. The sticky texture of the rice helps hold the nigiri together, making it a joy to eat.
A Culinary Adventure
Engaging in the preparation of Salmon Belly Torched Nigiri-Style is not just about the food; it’s an adventure in the kitchen. With each step, from cooking the rice to using a kitchen torch for that perfect sear, you’ll find it both rewarding and fun. This dish is more than a meal; it’s an experience to share with friends or family, bringing everyone together over delicious food.
In summary, Salmon Belly Torched Nigiri-Style is a dish that embodies the essence of Japanese cuisine. It’s easy to prepare, allows for creativity, and is sure to impress. Ready to embark on this culinary journey?
Key Ingredients
Salmon Belly (200 grams)
Salmon belly is the star of this dish, known for its rich, fatty texture that melts in your mouth. This cut provides a luxurious flavor that pairs perfectly with sushi rice.
Sushi Rice (2 cups)
Sushi rice is sticky and short-grained, essential for holding the nigiri together. Its seasoned blend of vinegar, sugar, and salt adds a delicate balance to the dish.
Rice Vinegar (1/4 cup)
Rice vinegar is used to season the sushi rice, providing a subtle tanginess that enhances the overall flavor. It’s a crucial ingredient in achieving authentic sushi taste.
Sugar (1 tablespoon)
A touch of sugar helps to balance the acidity of the rice vinegar, contributing to the overall sweetness of the sushi rice.
Salt (1 teaspoon)
Salt enhances the flavors of both the rice and salmon, ensuring that each bite is perfectly seasoned.
Nori (1 sheet, cut into strips)
Nori adds a savory crunch and umami flavor, enhancing the texture and presentation of the nigiri.
Wasabi (to taste)
Wasabi offers a spicy kick that complements the richness of the salmon, allowing you to adjust the heat level to your preference.
Soy Sauce (for serving)
Soy sauce is a traditional accompaniment, providing a salty contrast to the nigiri and enhancing its flavors.
This combination of ingredients creates a delightful experience in every bite, making Salmon Belly Torched Nigiri-Style a memorable dish.
Why You’ll Love This Recipe
Salmon Belly Torched Nigiri-Style is not just a dish; it’s a culinary experience that brings the essence of Japanese cuisine directly to your kitchen. This recipe is perfect for young professionals who appreciate homemade meals but may be pressed for time. With minimal ingredients and straightforward instructions, you can impress friends and family in just about 50 minutes.
A Flavor Explosion
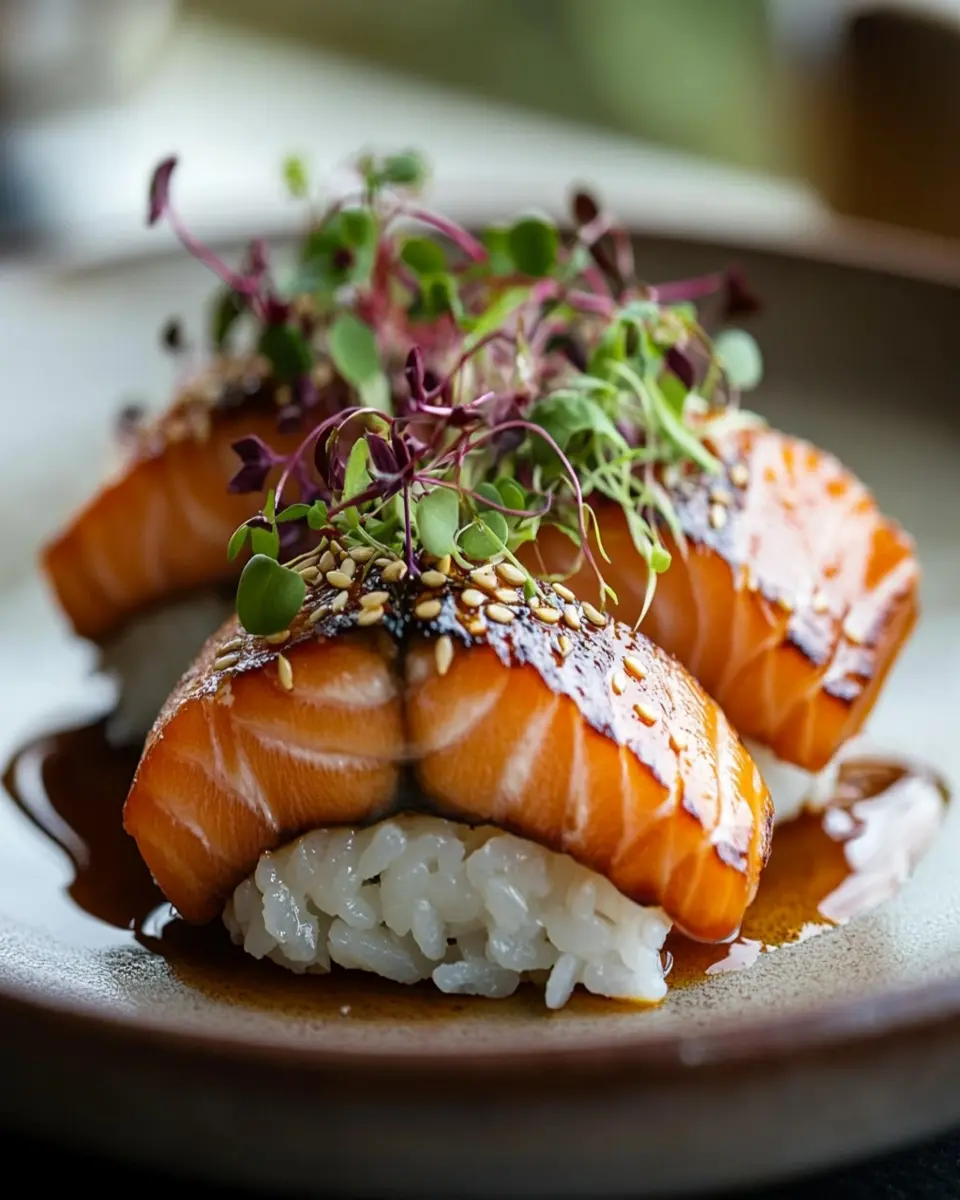
The combination of torched salmon belly and seasoned sushi rice creates a flavor explosion unlike any other. The rich, buttery texture of the salmon contrasts beautifully with the slightly tangy rice, making each bite a delight. Plus, who doesn’t enjoy the dramatic flair of using a kitchen torch to finish off their dish?
Perfectly Balanced
One of the standout features of this recipe is its balance. The sweetness of the rice vinegar, the umami of the nori, and the spice from the wasabi come together to create a harmonious blend of flavors. This means you don’t just get a meal; you get a well-rounded dish that satisfies all your taste buds.
Quick and Easy
With prep and cook times totaling just under an hour, Salmon Belly Torched Nigiri-Style is an ideal choice for busy evenings. Whether you’re entertaining guests or treating yourself to a gourmet meal, this recipe is straightforward enough to whip up without any hassle. Why not add a touch of elegance to your dinner routine?
Variations of the Recipe
Salmon Belly Torched Nigiri-Style is versatile and can be adapted to suit different tastes and dietary preferences. Whether you’re looking to experiment with flavors or cater to specific dietary needs, there are several exciting variations to try.
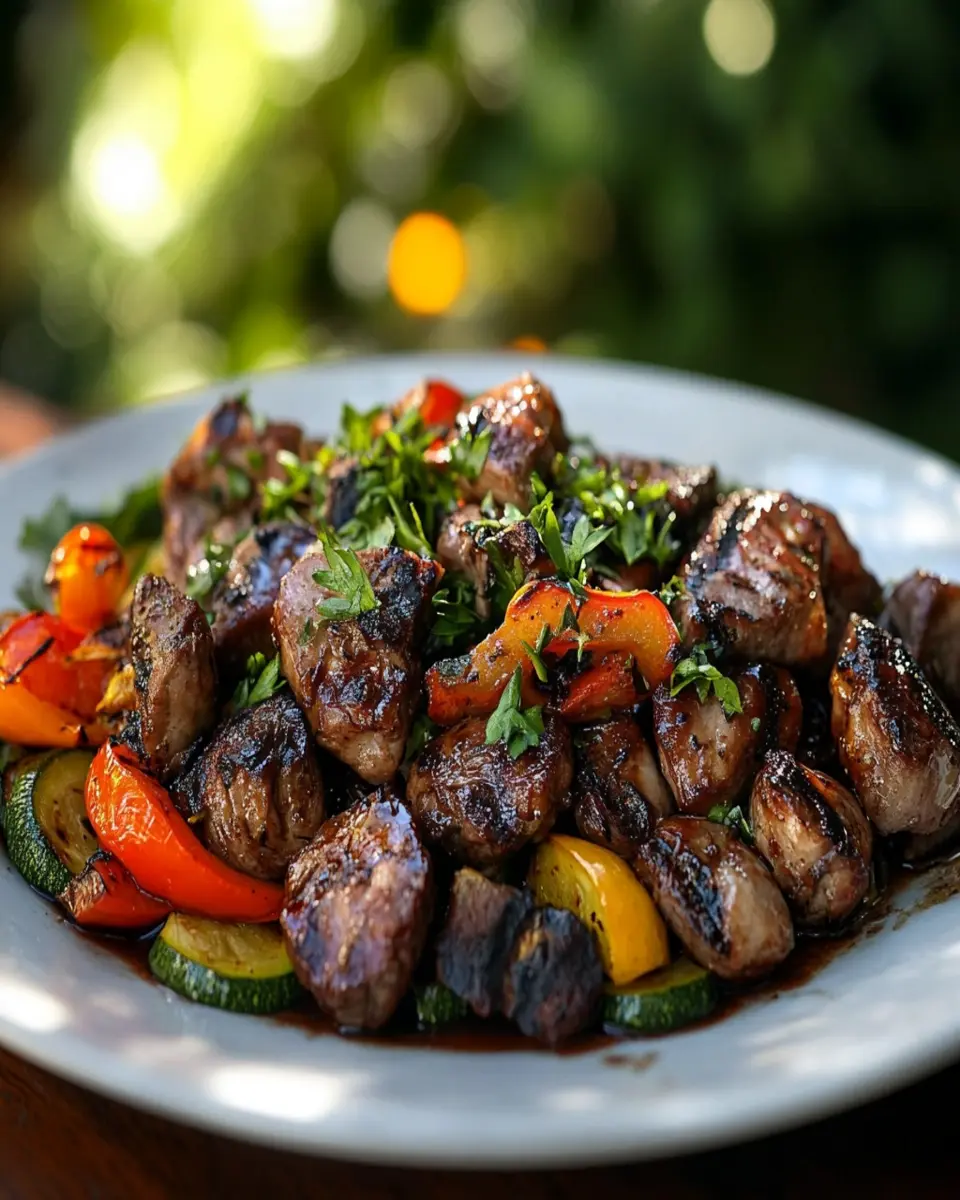
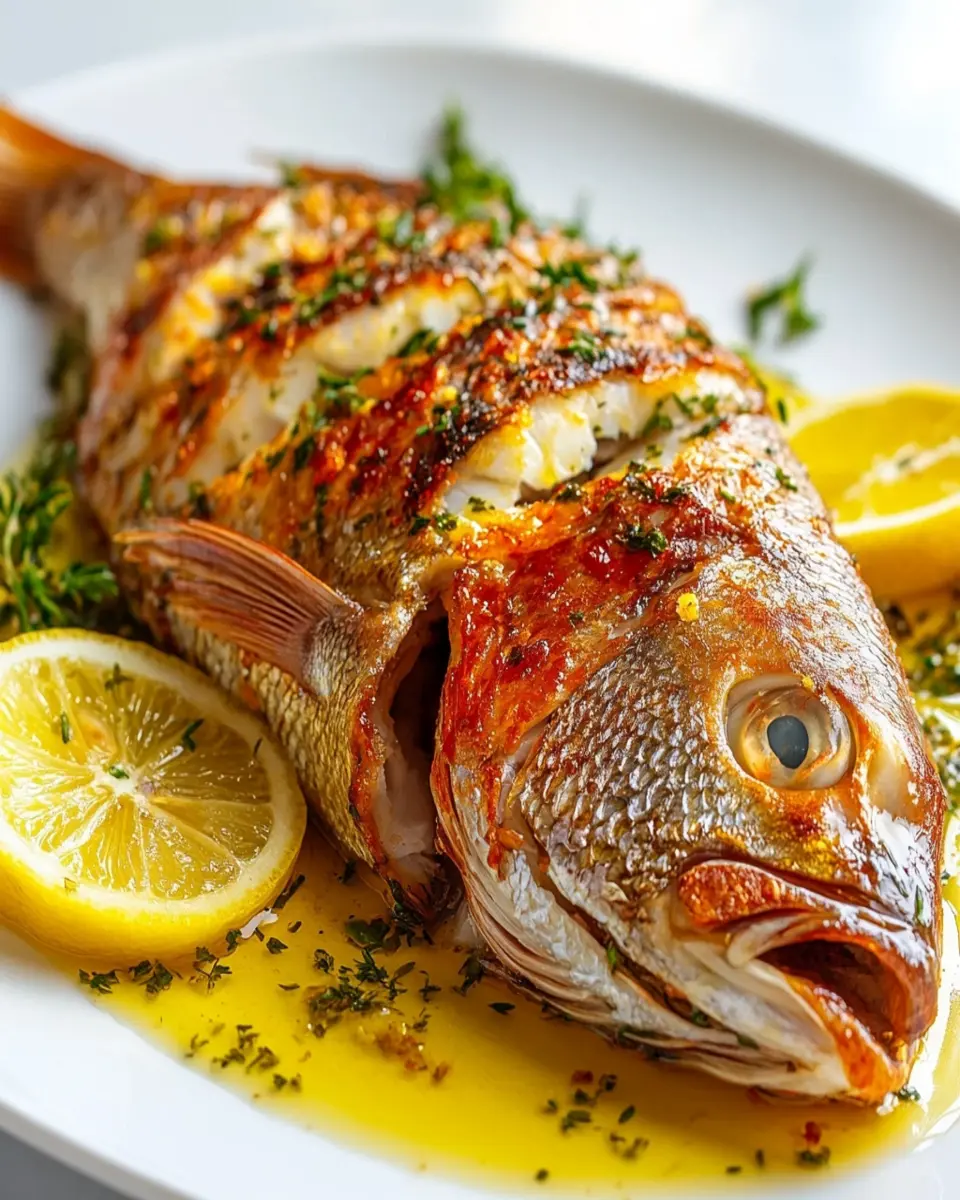
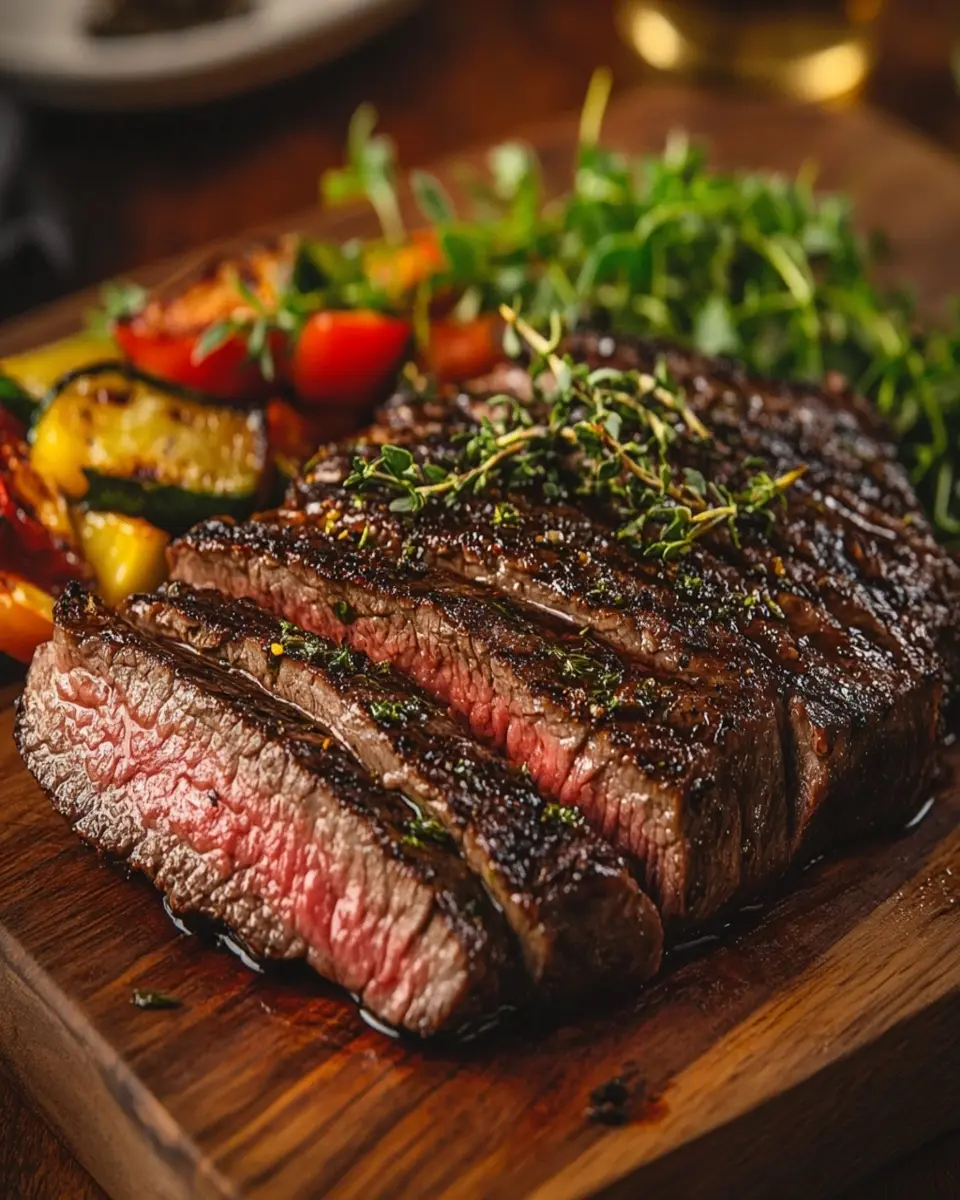
Alternative Proteins
If you’re not a fan of salmon belly, consider substituting it with other types of seafood. Tuna, yellowtail, or even seared scallops can provide a delicious alternative while still maintaining the essence of nigiri. Each protein offers its unique flavor and texture, making your dining experience even more diverse.
Incorporating Vegetables
For a vegetarian twist, you can replace the salmon with marinated avocado or grilled vegetables like zucchini or asparagus. These options not only add freshness but also bring a pop of color to your plate. Pair them with the same sushi rice and seasonings for a delightful plant-based version.
Flavor Enhancements
Experimenting with toppings can also enhance your nigiri. A drizzle of spicy mayo or a sprinkle of sesame seeds can add extra flavor without complicating the recipe. Some people enjoy adding a hint of citrus, like yuzu or lime, to elevate the dish further.
These variations allow you to customize Salmon Belly Torched Nigiri-Style to your liking while keeping the original spirit of the dish intact. Why not try a new version today and surprise your taste buds?
Cooking Tips and Notes
Cooking Salmon Belly Torched Nigiri-Style can be a delightful experience, especially when you keep a few key tips in mind. These insights will help ensure your dish is not only delicious but also visually appealing.
Selecting Salmon
Always choose high-quality sushi-grade salmon for the best flavor and safety. Look for bright, vibrant color and a fresh smell. If possible, buy from a trusted fishmonger who can ensure its freshness. Remember, the quality of your ingredients can make or break your sushi experience.
Perfecting Your Sushi Rice
When cooking sushi rice, rinsing it thoroughly before cooking is crucial. This removes excess starch and helps achieve the perfect sticky texture. After mixing in the vinegar, sugar, and salt, let the rice cool to room temperature. This step is vital to avoid cooking the salmon when assembling your nigiri.
Torch Technique
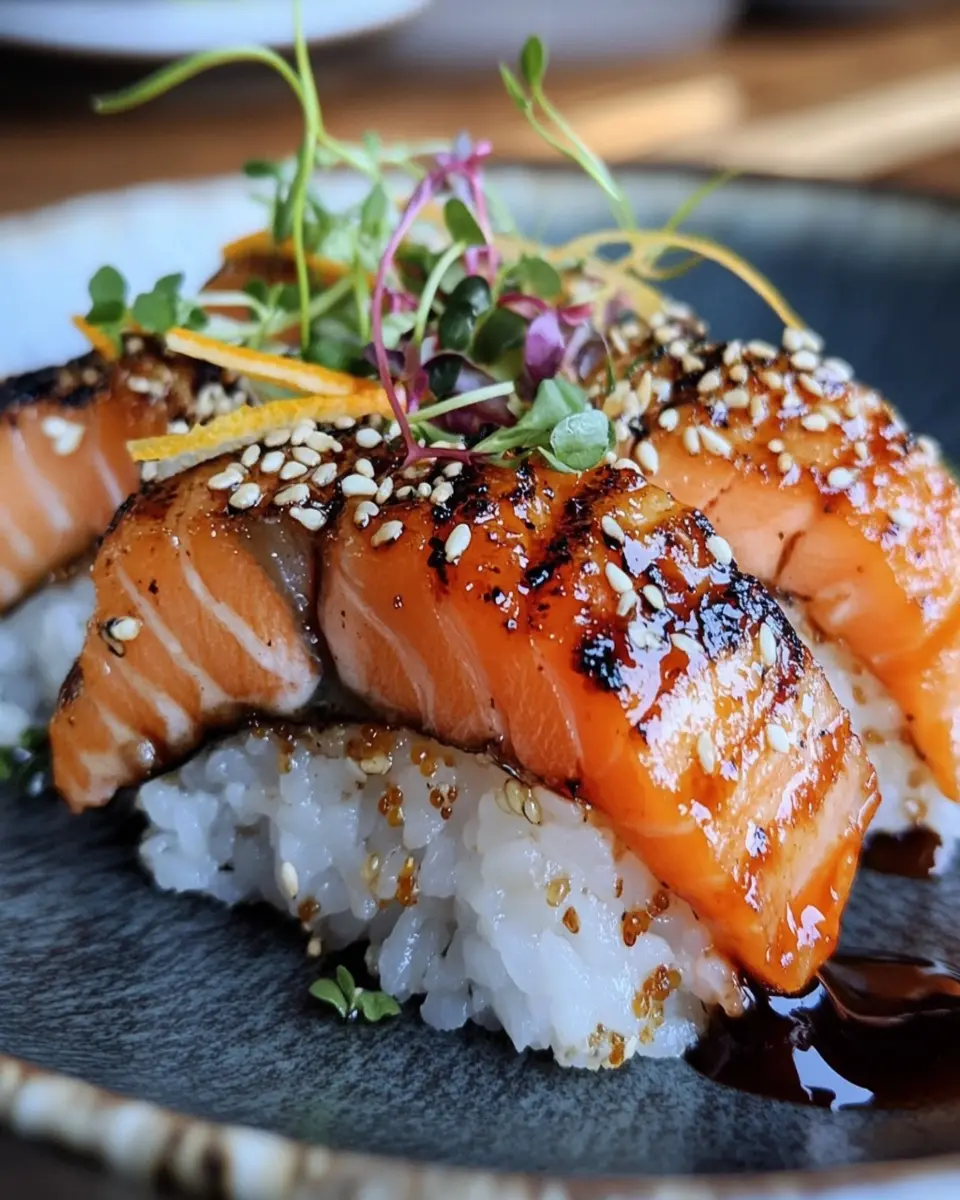
Using a kitchen torch can be intimidating at first, but practice makes perfect. Hold the torch at least six inches away from the salmon and move it in a sweeping motion to sear evenly. Lightly torching the salmon adds a wonderful depth of flavor and enhances your dish’s visual appeal.
By keeping these tips in mind, you can elevate your Salmon Belly Torched Nigiri-Style, making it a dish that impresses not only in taste but also in presentation. Enjoy the process and have fun experimenting with flavors!
Serving Suggestions
Salmon Belly Torched Nigiri-Style is not only a feast for the taste buds but also a visually stunning dish that can be enjoyed in various ways. Perfect for entertaining or a cozy meal at home, here are some serving suggestions to elevate your dining experience.
Pairing with Sides
To create a well-rounded meal, consider pairing your nigiri with traditional Japanese sides like miso soup or a fresh seaweed salad. These options offer lightness and balance the richness of the salmon belly, making each bite even more enjoyable.
Garnishing for Flair
Don’t forget to garnish your nigiri with additional toppings. A sprinkle of sesame seeds or thinly sliced green onions can add a pop of color and flavor. You might also serve extra wasabi or pickled ginger on the side for those who enjoy a bit of heat.
Serving Style
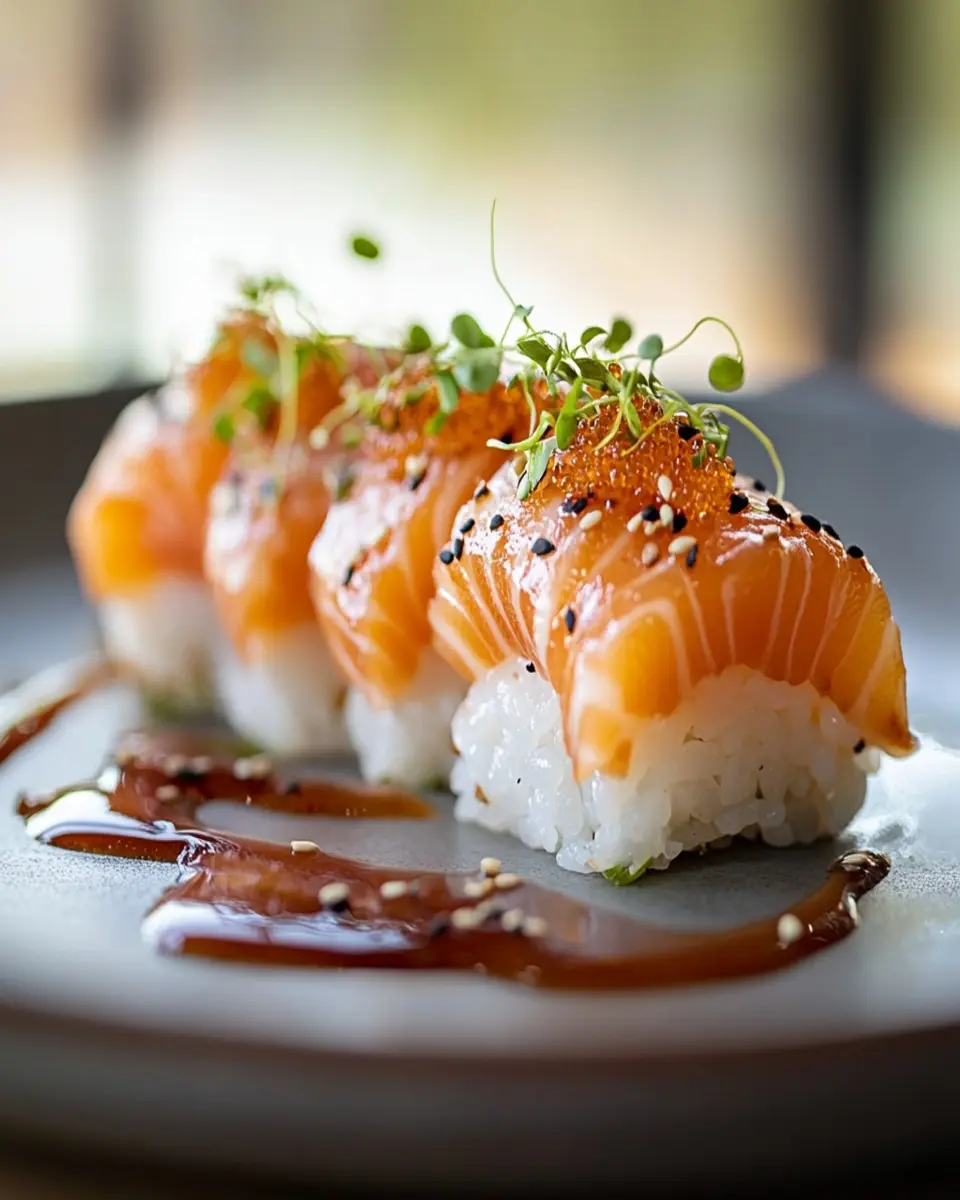
For an impressive presentation, arrange your nigiri on a decorative plate or sushi board. Adding a small dish of soy sauce for dipping not only enhances the aesthetic but also allows guests to customize their flavor experience. This attention to detail will surely impress your friends and family, turning a simple meal into a memorable occasion.
With these serving suggestions, your Salmon Belly Torched Nigiri-Style can shine at any gathering or meal, appealing to both the eyes and the palate.
Time Breakdown
Cooking Salmon Belly Torched Nigiri-Style is a straightforward process that can fit into your busy schedule. Here’s a quick overview of the time you’ll need:
Preparation
30 minutes
This time includes cooking the sushi rice and preparing the ingredients.
Cooking
20 minutes
This covers the actual cooking time for the rice and the torching of the salmon.
Total
50 minutes
In just under an hour, you can have a delicious dish ready to impress your friends and family. For efficiency, cook the rice in advance or while preparing the other ingredients to save time!
Nutritional Facts
Salmon Belly Torched Nigiri-Style not only delights the palate but also provides a balanced nutritional profile. Each serving contains approximately 250 calories, making it a satisfying yet light meal option. With 18 grams of protein, it’s great for those looking to maintain their energy levels throughout the day.
Macronutrient Breakdown
This dish features 15 grams of total fat, including healthy unsaturated fats that come from the salmon. The carbohydrate content is 25 grams, primarily from sushi rice, which provides a good source of energy. Additionally, with only 200 milligrams of sodium, it fits well within a balanced diet.
Enjoying this dish not only satisfies your taste buds but also contributes positively to your nutritional intake.
FAQ based on “People Also Ask” Section
What is Salmon Belly Torched Nigiri-Style?
Salmon Belly Torched Nigiri-Style is a delightful Japanese dish that features thin slices of torched salmon belly served atop seasoned sushi rice. This fusion of flavors offers a unique experience with the rich taste of salmon complemented by the subtle sweetness of the rice.
How do you store Salmon Belly Torched Nigiri-Style?
To store leftover Salmon Belly Torched Nigiri-Style, place it in an airtight container in the refrigerator. It’s best enjoyed fresh, but it can be kept for up to 24 hours. Reheat gently if necessary, but be cautious with the salmon to avoid overcooking.
Can I use other fish for this recipe?
Yes, you can substitute salmon belly with other sushi-grade fish like tuna or yellowtail for a different flavor profile. Each variety brings its own unique taste and texture, allowing for creative variations of nigiri.
Is this dish suitable for beginners?
Absolutely! While making sushi can seem intimidating, this recipe is straightforward and beginner-friendly. With practice, you can master the art of shaping rice and using a kitchen torch for that perfect sear.
Conclusion
Salmon Belly Torched Nigiri-Style is not just a dish; it’s a celebration of flavors and textures that brings a slice of Japanese cuisine into your home. With its rich, buttery salmon belly and perfectly seasoned sushi rice, this dish is sure to impress your family and friends.
Whether you’re a seasoned cook or new to sushi-making, this recipe is accessible and rewarding. The combination of fresh ingredients and the dramatic touch of torching the salmon creates a memorable dining experience. Plus, it’s a fun way to experiment with flavors and presentations.
So why wait? Gather your ingredients, follow the steps, and indulge in this delightful fusion of flavors. Cook, share, and enjoy the process, and don’t forget to let us know how your Salmon Belly Torched Nigiri-Style turns out!
Print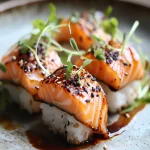
Salmon Belly Torched Nigiri-Style
- Total Time: 50 minutes
- Yield: 4 servings 1x
- Diet: Gluten-Free
Description
A delightful fusion of flavors featuring torched salmon belly served on sushi rice.
Ingredients
- 200 grams salmon belly
- 2 cups sushi rice
- 1/4 cup rice vinegar
- 1 tablespoon sugar
- 1 teaspoon salt
- 1 sheet nori, cut into strips
- wasabi (to taste)
- soy sauce (for serving)
Instructions
- Cook the sushi rice according to package instructions.
- In a small saucepan, combine rice vinegar, sugar, and salt, and heat until dissolved.
- Mix the vinegar mixture into the cooked rice and let it cool.
- Slice the salmon belly into thin pieces.
- Shape a small amount of sushi rice into an oval.
- Top the rice with a slice of salmon belly.
- Using a kitchen torch, lightly sear the salmon for a few seconds.
- Garnish with a strip of nori and a dab of wasabi.
- Serve with soy sauce on the side.
Notes
- For best flavor, use high-quality sushi-grade salmon.
- Adjust the amount of wasabi to your spice preference.
- Practice torching for even cooking of the salmon.
- Prep Time: 30 minutes
- Cook Time: 20 minutes
- Category: Main Dish
- Method: Sushi
- Cuisine: Japanese
Nutrition
- Serving Size: 2 pieces
- Calories: 250
- Sugar: 1g
- Sodium: 200mg
- Fat: 15g
- Saturated Fat: 3g
- Unsaturated Fat: 10g
- Trans Fat: 0g
- Carbohydrates: 25g
- Fiber: 1g
- Protein: 18g
- Cholesterol: 50mg

Leave a Comment